Whether you’re brainstorming, mapping workflows, planning sprints, or running workshops, Miro offers a flexible canvas with powerful tools to boost productivity.
Miro is highly used by startups, large enterprises, and remote teams as a go-to collaboration tool for seamless teamwork.
In this guide, you will learn:
What is Miro
Key Features of Miro
How to Get Started with Miro for Beginners
How to Integrate Other Platforms with Miro
Miro Pros and Cons
Miro Pricing
FAQs on Miro
What is Miro
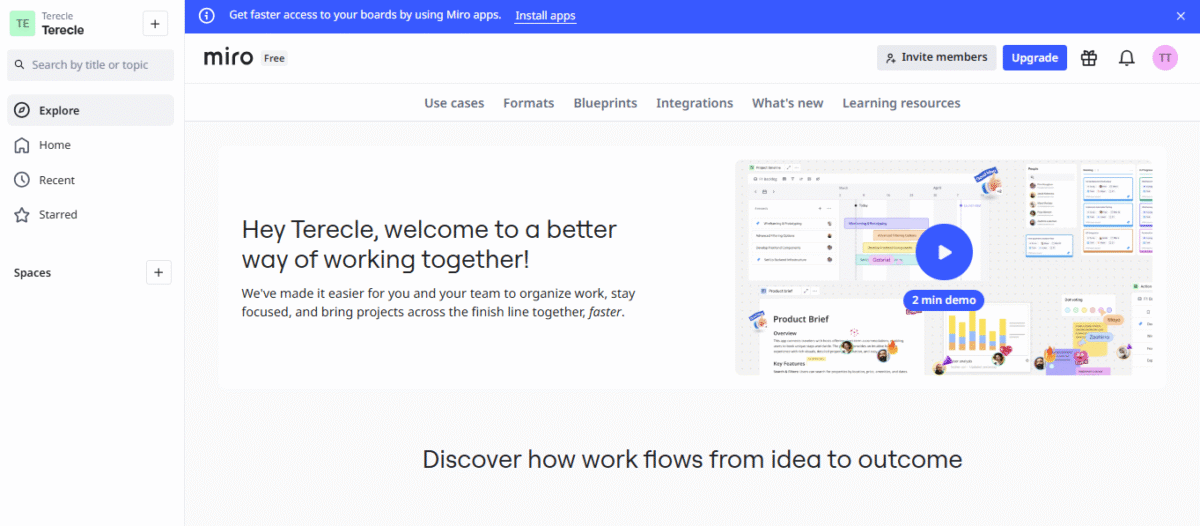
Miro is an AI-powered collaborative online platform1 that allows teams to share ideas, plan, and collaborate on an infinite canvas.
From startups to enterprises, remote teams to educators, users rely on Miro Board to visually organize ideas, processes, and projects in a shared workspace.
Key Features of Miro
Here are the key features that make Miro one of the best collaboration tools available:
1. Pre-built templates. Miro has hundreds of templates designed for brainstorming, design sprints, flowcharts, and more.
2. Real-time collaboration. Miro supports unlimited concurrent users on a single board, enabling real-time collaboration without limits, making it one of the best digital whiteboard tools for remote teams and collaborations.
3. Rich media support. You can bring your boards to life by adding text, images, sticky notes, embedded videos, PDFs, and documents directly. You can also link external files, embed iFrames, or integrate assets from cloud platforms like Google Drive and OneDrive.
4. Advanced integrations. Miro supports over 160+ popular tools like Slack, Trello, Google Drive, Asana, Notion, and more to boost your productivity.
5. Presentation mode. Turn your board into a dynamic slide deck with a single click. Perfect for client demos, sprint reviews, and team retrospectives.
6. Comments and emoji reactions. Get feedback easily with threaded comments, @mentions, and emoji reactions, which make remote collaboration interactive.
7. Access permissions. Secure your work with permissions on an individual level, you can decide who can view, comment, or edit each board.
How to Get Started with Miro for Beginners
Here’s how to get started with Miro:
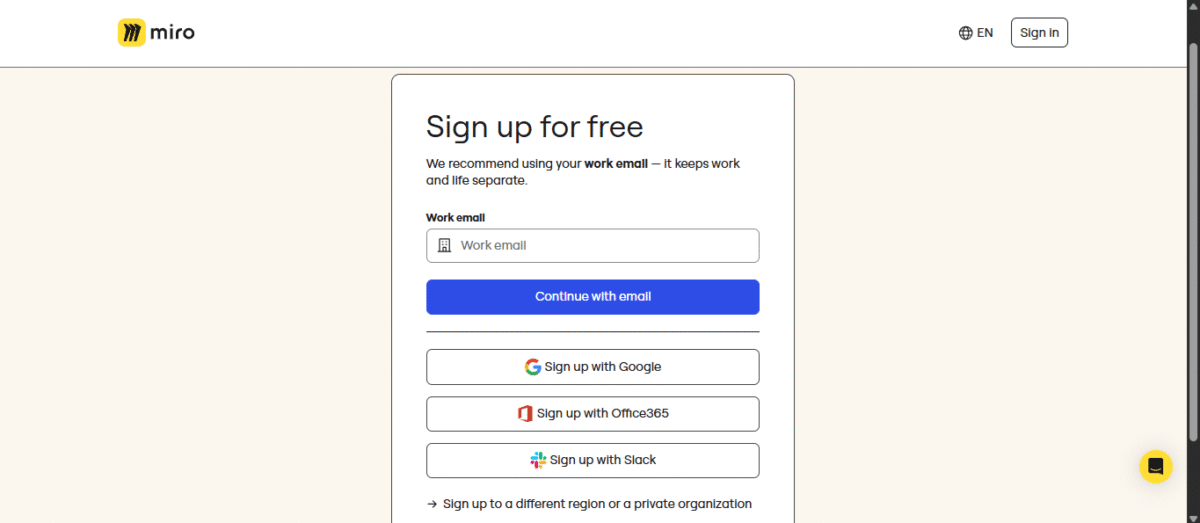
1. Sign up
Go to Miro.com and sign up for a free account using either your work email, Google, Office365, or Slack account.
Miro also has an app for Windows, macOS, iOS, and Android. But the web version supports the full features that Miro has to offer.
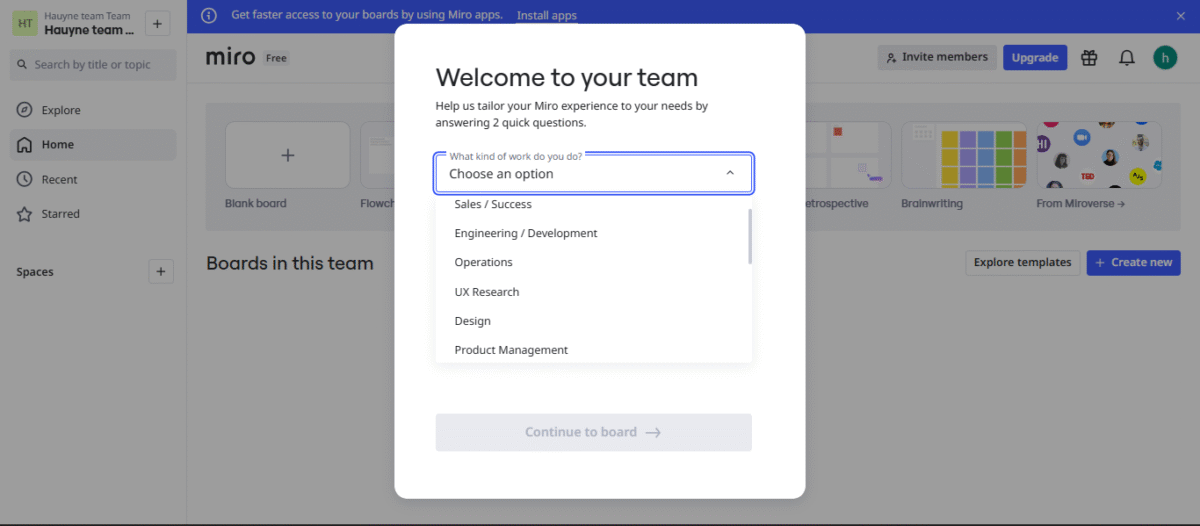
After creating your first board, a “Welcome to your team” pop-up form will appear. Here is how to proceed:
- Select your work category: Choose the option that best describes the kind of work you do (e.g., Operations, Product Management, UX Research, Design, etc.)
- Answer onboarding question: “Have you ever used Miro before?” Select No, it’s my first time.
Then, click “Continue to board” to launch your Miro workspace.
2. Create Your First Board
As a free user, Miro allows you to create three free boards. Here is how to create your first Miro board:
- Click on the “+ Create New” button or “Blank board” from your dashboard to create a new canvas.
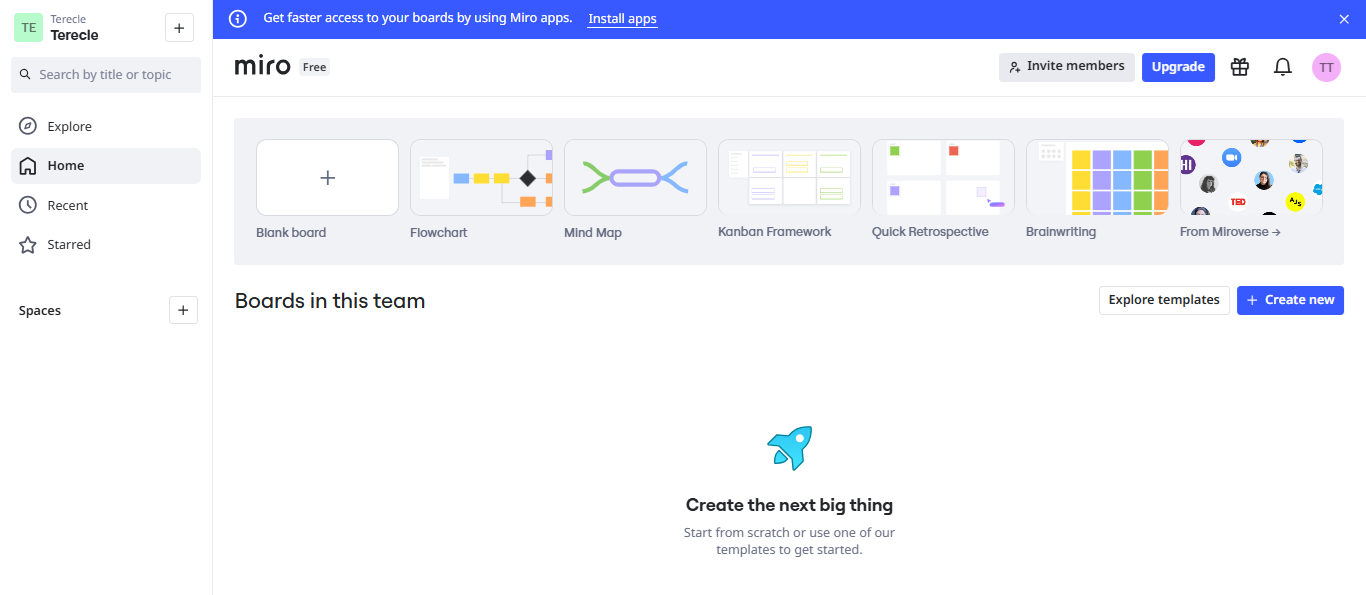
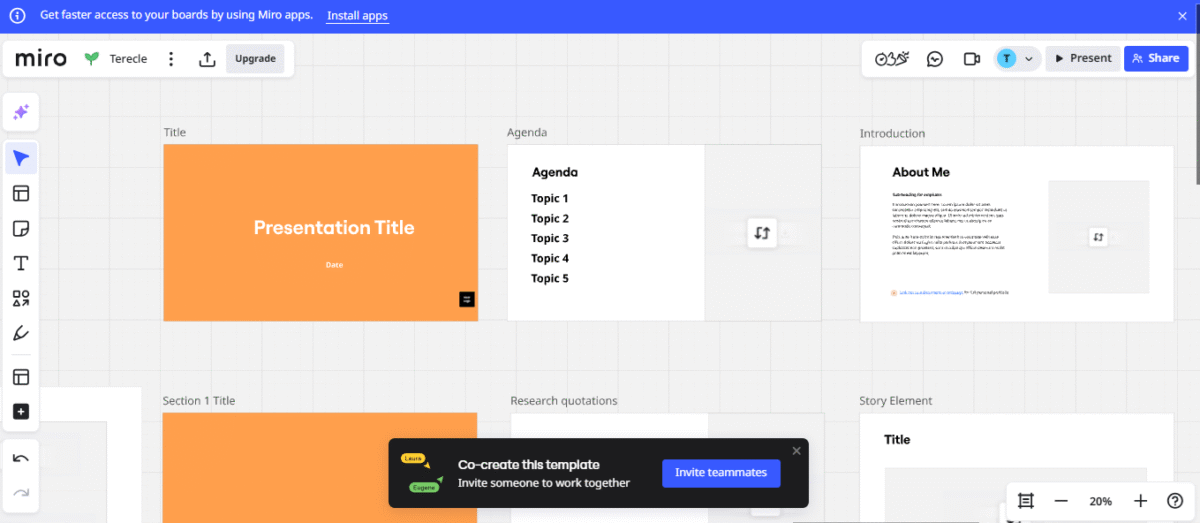
- Choose a pre-built template (mind maps, Kanban boards, flowcharts, customer journey maps, Agile boards, etc.) to get started.
If you want to begin with a blank board, click the “cancel (×) icon“ at the top-right of the template window to skip template selection.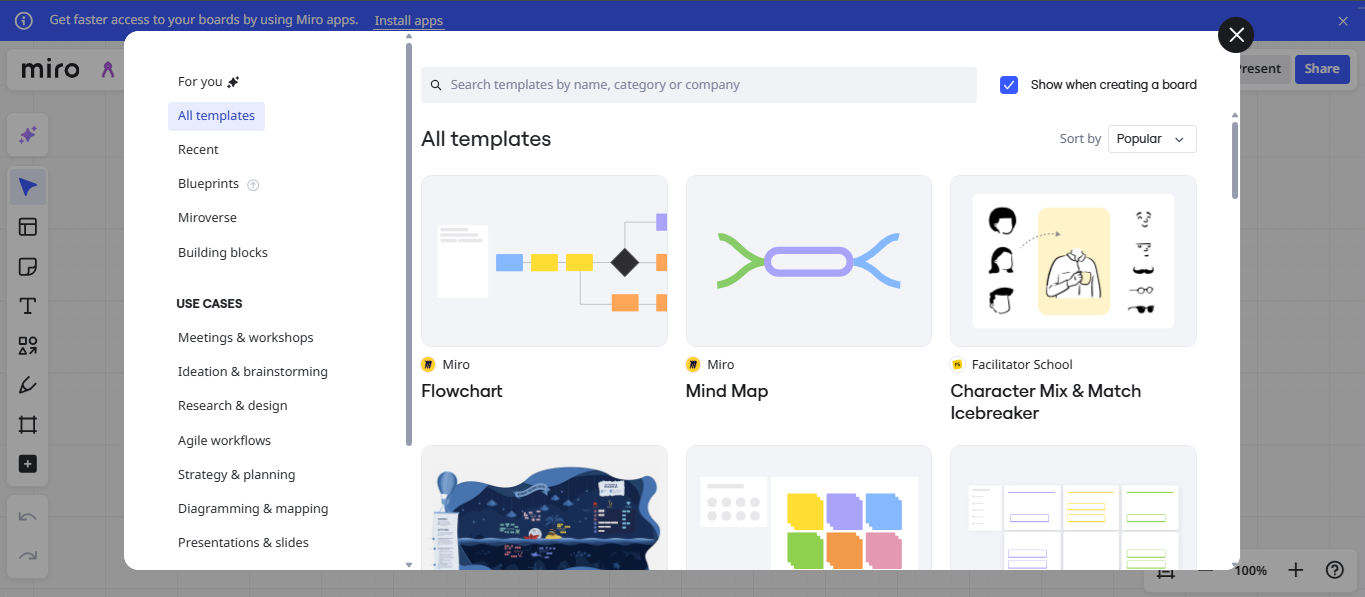
3. Invite Your Team
To invite your team to collaborate with you on Miro, follow the steps below:
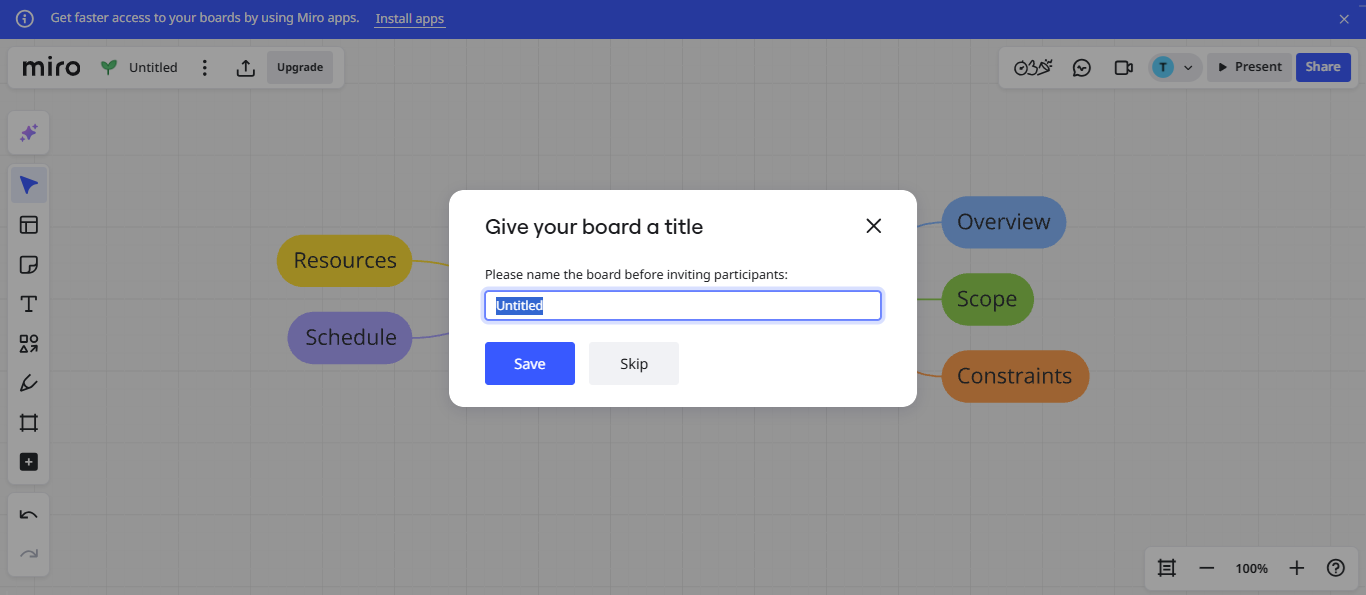
- Click the “Share” button, give your board a title if you have not done that already, and click the Save button. You can skip the title part if you do not want to give your board a title.
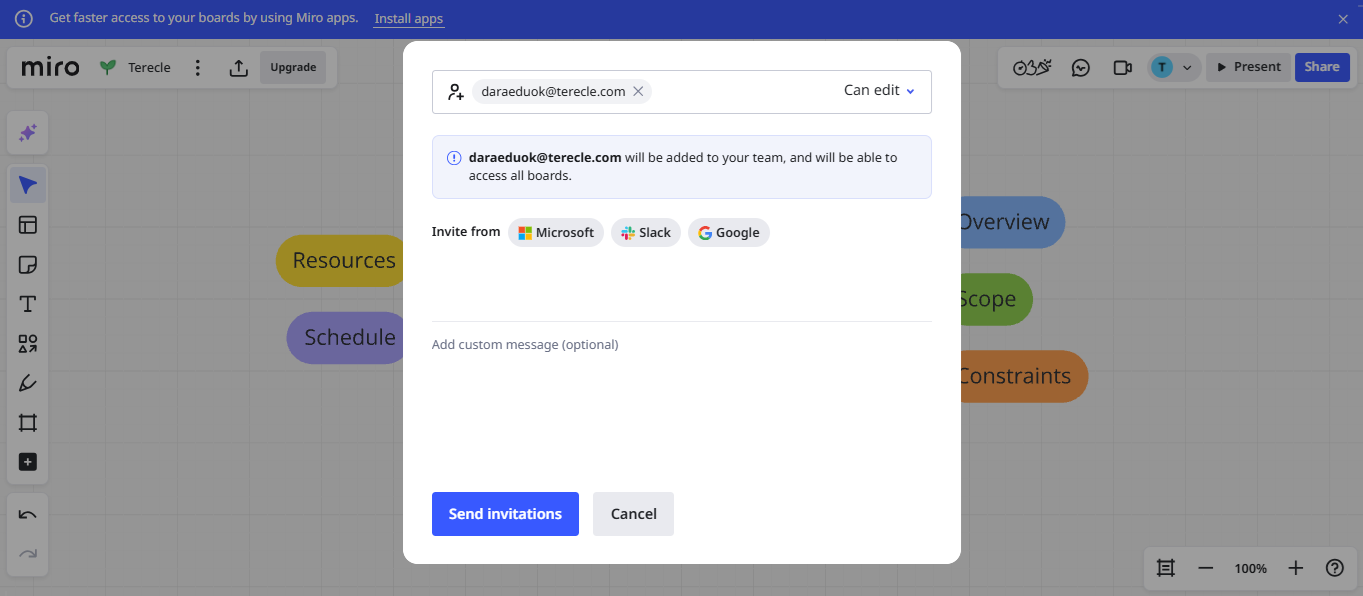
- Enter the email addresses of the team members you want to invite, set their access level (Can view, Can edit, Can comment), add a custom message if you want, and click on “Send Invitations“. There is also an option to invite them from Microsoft, Slack, or Google.
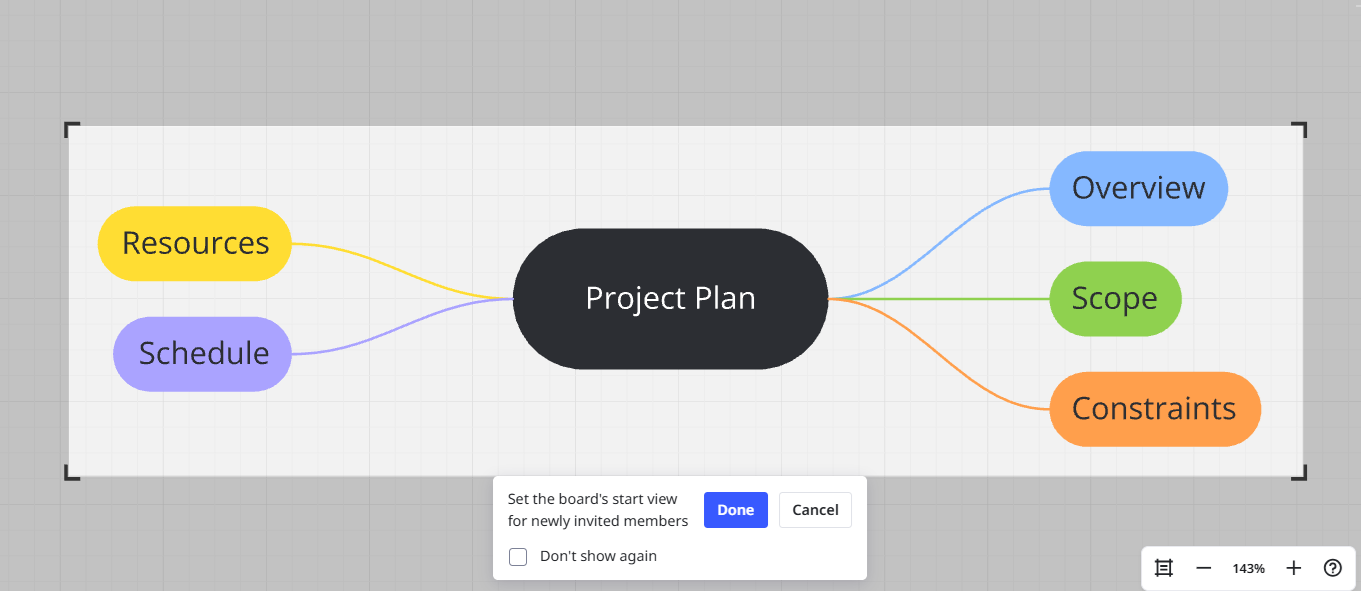
- The final step is setting the board’s start view for newly invited members. Miro allows you to choose the part of the board that new members get to see by cropping the board. You can also cancel it.
4. Add Your Content
Use the toolbar to add sticky notes, text boxes, shapes, connectors, arrows, images, PDFs, embedded videos, Mind maps, Kanban columns, and templates as needed.
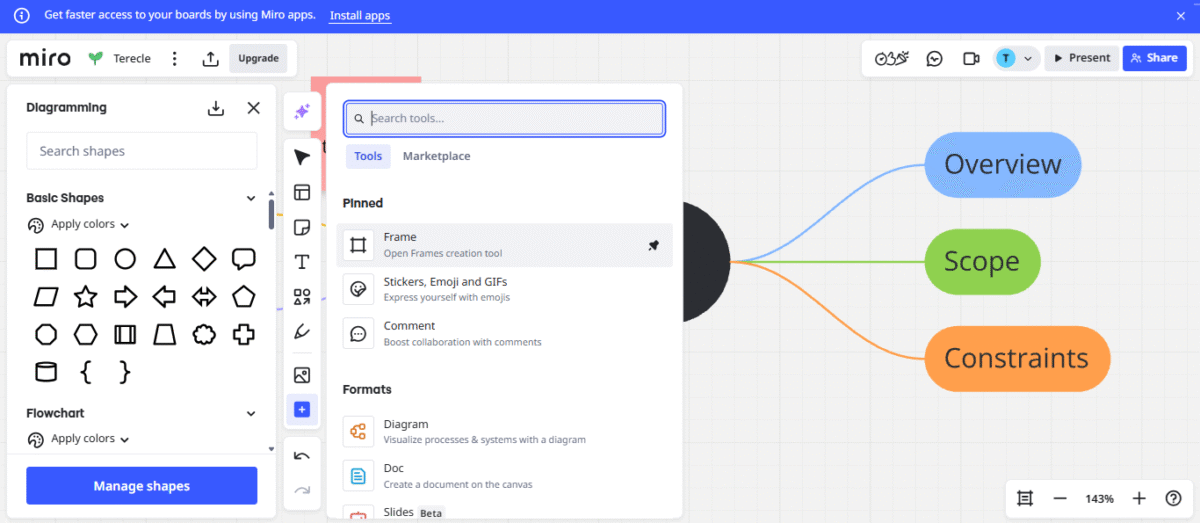
5. Organize with Frames
Organize your Miro board using frames to create clean, structured layouts that are both visually appealing and ready for presentation.
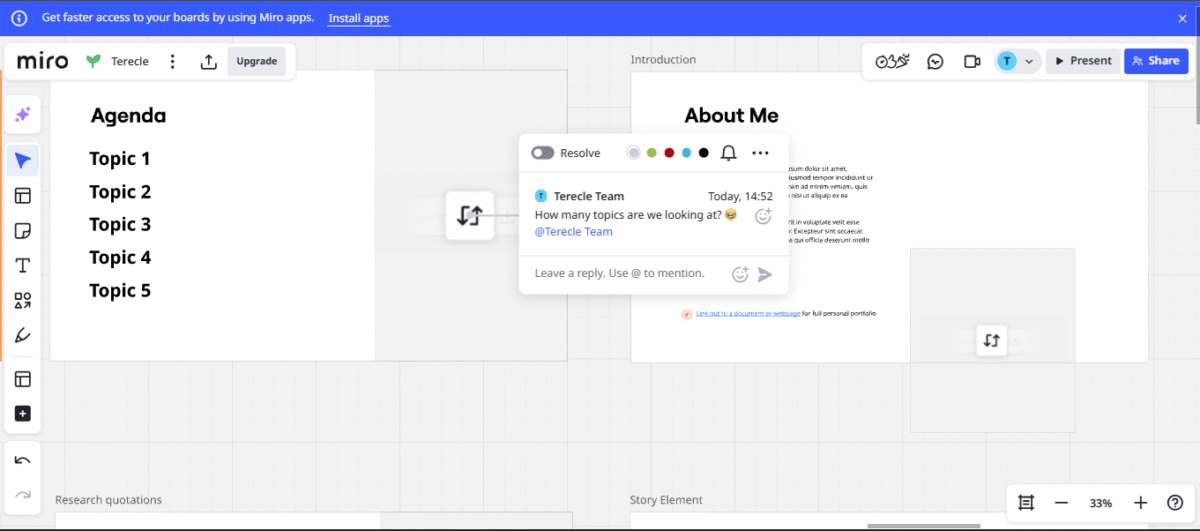
6. Collaborate in Real-Time
Tag teammates with @mentions, add comments, or use the emoji reaction tool to give quick feedback on any part of the board.
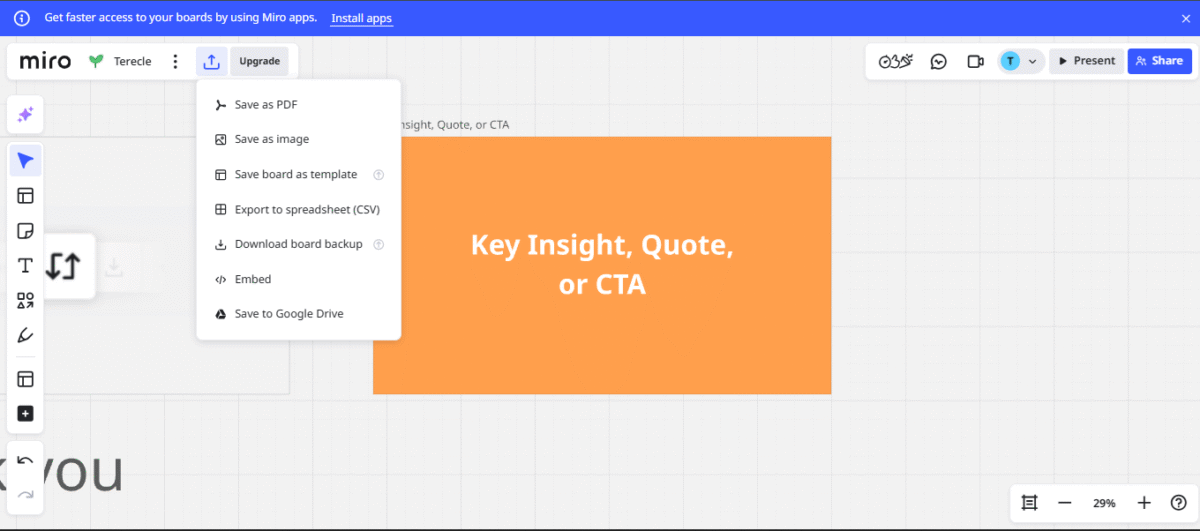
7. Present or Export
To present your board, switch to Presentation Mode by clicking on the “Present“ button to showcase your boards as slides, or click on the “Export“ icon to export as a PDF, save as image, save as template, export to CSV, download board backup, embed for sharing, or save to Google Drive.
How to Integrate Other Platforms with Miro
Miro integrates with over 160+ productivity and collaboration tools, allowing you to streamline workflows.
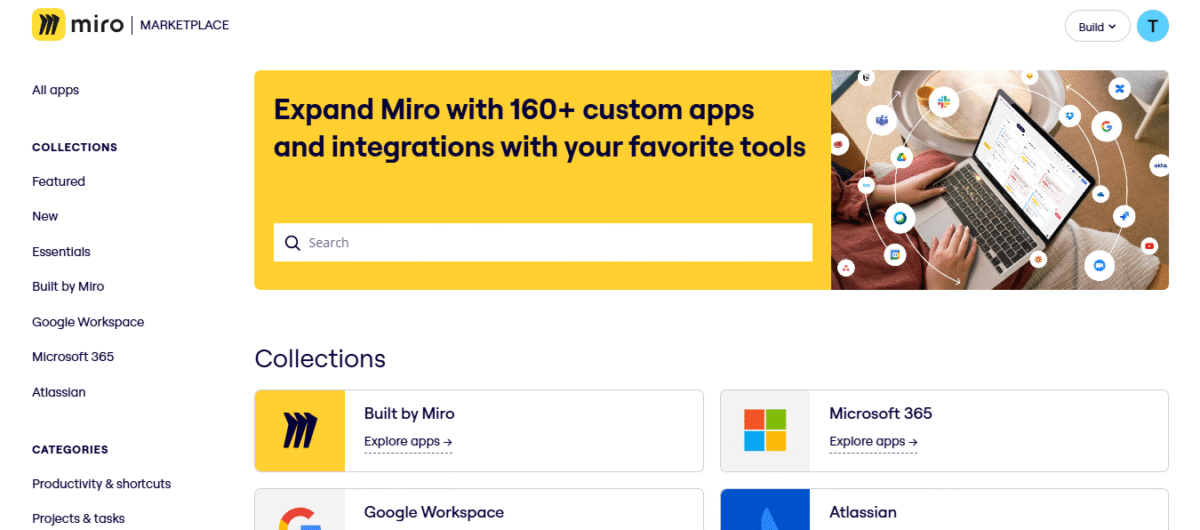
- Go to miro.com/marketplace
- Search for the tool (e.g., “Slack”, “Trello”, “Google Drive”) you want to integrate.
- Click “Connect” and follow the prompts to connect your account (you may be asked to authorize access).
Once connected, you’ll see options to embed, sync, or interact with the external platform directly on your board.
Pros and Cons of Miro Board
| Pros | Cons |
|---|---|
| Easy interface for all skill levels | Advanced features require paid plans |
| Excellent collaboration and presentation tools | Little offline features |
| Excellent integration options |
Miro Pricing
Miro offers flexible pricing to suit teams of all sizes:
- Free plan: 3 Editable boards, Unlimited members
- Starter ($8/user/month): Unlimited boards in a single workspace, Public sharing with unlimited visitors, Export in high resolution to JPG or PDF, Version history, Brand fonts, Custom templates, Folders/Space, Miro AI, Video recording and sharing, Collab with external data.
- Business ($16/user/month): Everything in Starter, plus Unlimited boards in multiple private workspaces, Visualize processes, Sync copies.
- Enterprise: Everything in Business, plus Advanced permissions, SSO, Premium integrations, Admin controls.
FAQs on Miro
Is Miro Board free?
Yes, Miro offers a free plan with 3 editable boards and unlimited team members.
Can I embed Miro boards on my website?
Yes. Click on the Export icon, Select Embed, copy the code, and paste it on your website.
Can I use Miro offline?
No, Miro is a cloud-based platform and requires an internet connection to access boards.
Does Miro support mind mapping?
Yes. Miro provides mind map templates and tools to create custom maps.
Article Sources
- Miro. ”What is Miro?, https://help.miro.com/hc/en-us/articles/360017730533-What-is-Miro.” Accessed June 29, 2025. ↩︎