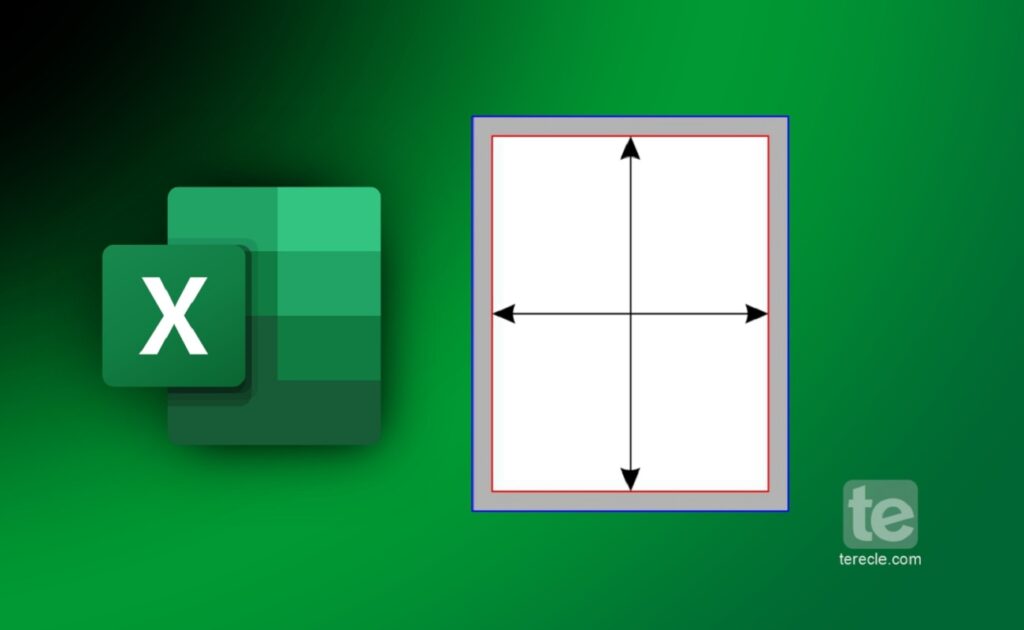
Margins are important because they determine the final look of the printed copy of your Excel sheet. In this article, you will learn how to change margins in Excel before you proceed with the final printing.
What are Margins in Excel
Page margins are those empty spaces between the edges of your printed sheet and the content on the page itself. There are top margins and bottom margins and they both can be used as footers, headers, and even page numbers. While the other margins can be used to align your worksheet on the printed page.
How Margins Works in Excel
In an Excel sheet, users can manually adjust their margins to add more or less blank space i n their worksheet. Margins can be set high, so that the worksheet can contain extra contents or set low, all depending on the users preference. These margins can be adjusted properly to make your printed look fine and presentable.
How to Change Margins in Excel
Here is a rundown of how to change margins in Excel.
Step #1. Accessing Page Layout View
- Click the worksheet that you want to change its margin
- Then go to the ‘View Tab’ and click ‘Page Layout View’.
Step #2. Using the Margin Presets
- When the Page Layout tab opens, go to the Page Setup group.
- Click on Margins. Click on Normal, Wide, or Narrow to use predefined margins.
Step #3. Custom Margin Settings
You have to specify page margins settings:
- Click on Custom Margins.
- Navigate to the Top, Bottom, Left, and Right boxes and enter the margin sizes that you prefer. You can set the Header or Footer to your preference by entering a new margin size in the Header or Footer box.
If you already had a custom margin setting, the setting is still available in the Last Custom Setting option.
Changing the header or footer margins changes the distance from the top edge of the paper to the header or from the bottom edge of the paper to the footer.
If you need to center the page horizontally or vertically:
- Click on Custom Margins.
- Under the Center on page option, check the Horizontally or Vertically box.
You can now preview the new margins by:
- Click the File Tab.
- Select Print.
- You will see the preview. Now to adjust the margins in Print Preview.
- Select the Show Margins box in the lower right corner of the preview window.
- Drag the black margin handles on either side or at the top or bottom of the page.
That’s it on how to successfully change and adjust the margin in your Excel sheet before you print it out.
FAQs
How to adjust page margins in Excel?
To adjust the page margins of your Excel sheet you have to use the Page Layout tab:
Step #1: Go to the Page Layout Tab.
Step #2: Click on Margins from the menu.
Step #3: Select Custom Margins.
Step #4: Use the arrows available to increase or decrease the margin sizes to your preference.
Step #5: You can also enter the desired size in the appropriate box, then click OK to effect the changes.
How do I change cell margins in Excel?
Step #1: Go to the Format Cells dialog box.
Step #2: In the “Alignment” tab, go to the “Indent” section.
Step #3: There are options for adjusting the left and right margins. Set to zero by default, so you can increase the margins by entering a value in the “Left” or “Right” box. Or use the up and down arrows to adjust the value instead.
How to switch Excel to landscape orientation?
One quick way to change the page orientation of your Excel sheet is:
Step #1: Select the worksheet or worksheets you want to change the orientation in Excel.
Step #2: Go to the Page Layout Tab.
Step #3: Navigate to the Page Setup group.
Step #4: Click on Orientation, and then select Landscape.
How to calculate margins in Excel?
The simple formula for calculating margin in Excel is [(Selling Price – Cost) / Selling Price] x 100.
Example, if you type the net sales amount into cell A1 and the cost of goods sold into cell B1.cell C1 will calculate the gross profit.
Type in the following into the cell: =(A1-B1)/A1x100. Click enter after inserting that calculation into the cell, the gross profit margin will then appear in cell C1.
How to add a footer in Excel?
Step #1: Select the worksheet you want to insert a footer in.
Step #2: Then Click on Insert.
Step #3: Select Header & Footer.
Step #4: Select preset from the “Footer” menu.
Step #5: Then click OK.
