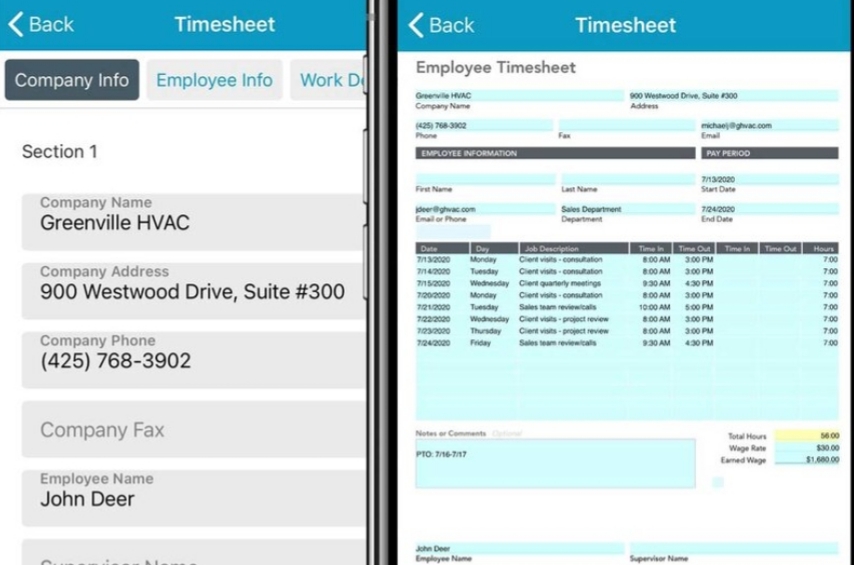
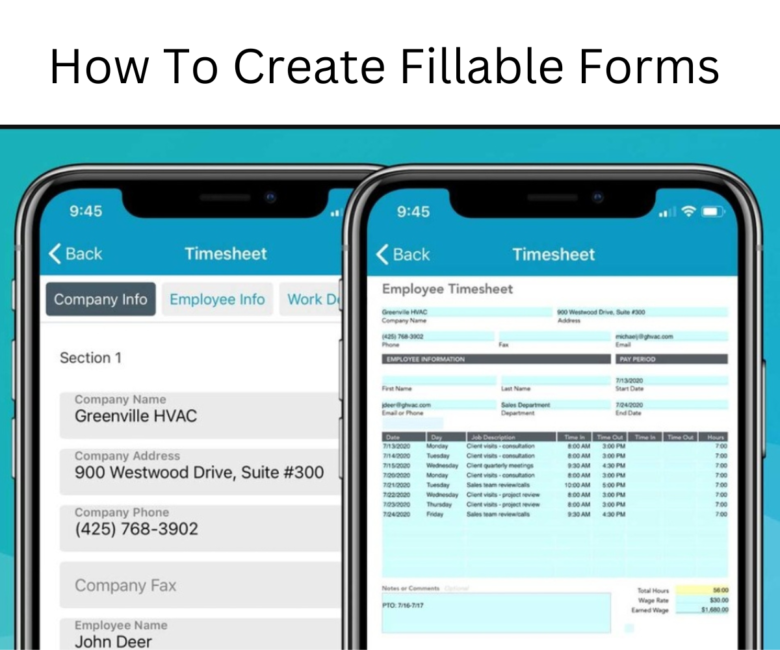
Knowing how to create fillable forms is one of the spontaneous things that you may need to do, as far as a formal setting is concerned or drafting an agreement.
As we know, businesses and individuals alike constantly seek an intuitive solution to create fillable forms that can be seamlessly attached to their emails.
Well, there are a couple of ways to achieve this through a number of trusted platforms and softwares today.
That in view, we will be discussing a couple of popularly accepted ones in this article.
How to create Fillable Forms with ADOBE PDF
The PDF form creator is handy in creating new forms and paper documents that are actually fillable mostly through conversions.
Do you need a scan document or a simple form made with Microsoft Word, Excel etc. Adobe Acrobat offers an hassle-free and quick methods of how to create fillable forms with signature fields, calculations and much more.
Also, this software automatically recognizes static form fields and converts them to fillable text fields when you convert your scanned paper forms or digital files.See a sample ›
It’s dynamic, and supports the mobility of text fields about, change headings, add, delete, drag and drop form fields for e-signatures to your form.
Another quality of this Adobe is it’s ability to promote interactions, it allows for status view of replies and sending reminders to people who had failed to respond.
So how exactly do you create a fillable PDF form
- Open Acrobat app, Click the “Tools” tab and select “Prepare Form.”
- Select a file or document, Acrobat will automatically analyze the document and add form fields.
- Add new form fields through the top toolbar and adjust the layout using tools in the right pane.
- Save your fillable PDF or share it with others or by clicking distribute to collect responses automatically.
How to create fillable forms using Google Forms

Cloud-based Google Forms can be accessed through several web browsers by typing forms.google.com in the address bar.
Next, log in to your Google account or sign up for one.
Create a new fillable form by clicking + icon or the Blank template. Insert the necessary form fields, such as, text fields, checkboxes, etc.
Add form title, description, and relevant images, as well as appropriately adjusting the visual look of the form.
Using form settings, make your users edit responses and also limit responses and create a field for email addresses if you need.
Once done, preview and test it to make sure everything works rightly.
Click on the Send button in the top right corner and choose share the form via email.
How to create fillable forms with Microsoft Word
Be it a Mac user or a Windows user, the steps are largely similar, and with minor variations in the initial step.
On Mac:
Click on Word in the top menu bar, and choose Preferences (Ribbon & Toolbar).
Select the box next to Developer to enable the Developer tab in the Ribbon.
On Windows:
Start by launching Microsoft Word and enable the Developer Tab.
Go to File, then Options and select the Customize Ribbon.
In the right-hand corner, check the box Developer and then click OK.
Add text, labels, and also text boxes, checkboxes, drop-down menus, and other controls. To add these form fields, click on the Developer tab and find the right option for your form.
Format and style your form by adjusting font sizes, colors, and alignment so it looks visually appealing and easy to use.
Protect your PDF from changes to the form’s structure and content that users might make while filling out the form. To click on the Developer tab, then click on Protect Document and choose Restrict Editing.
When ready, save the Word document and fill it out to ensure all the fields work as intended. Test form filling on various platforms to make sure it’s cross-platform compatible.
Choose Save as a word template (.dotx) to retain your form structure for future uses.
