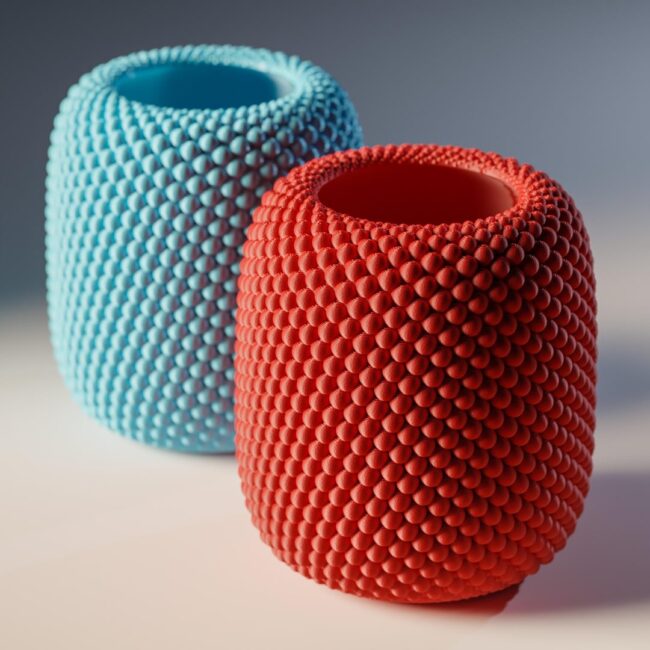
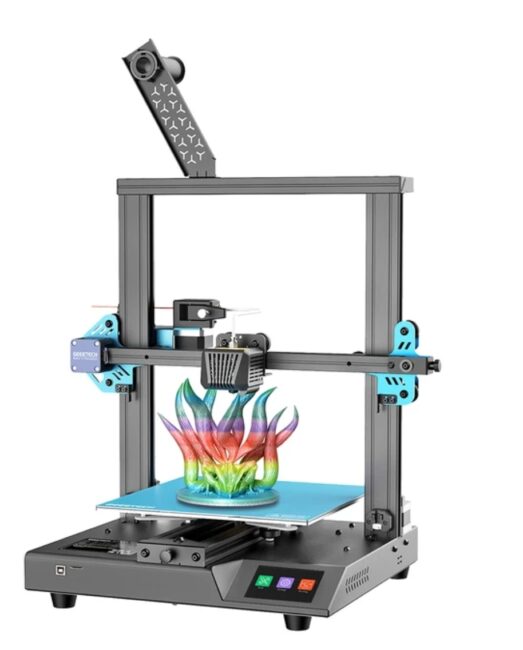
In this article you will discover how to design 3D print models and what software is best used for a great result.
If you want to know how to actually make 3D printable models from start to finish then this article is for you.
While randomly downloading models from the internet is not condemned, it may be insufficient in getting you to the level of mastery you need and of course perfection too.
This is where CAD Software comes to play. A software that is capable of opening you up to a world of possibilities and polishing your design skills.
What is CAD Software?
CAD software in clear terms refers simply to computer-aided design software that functions with the use of computers to create, modify, analyze, or optimize designs.
Functions of CAD for 3D Design Print Models
This software functions to increase the designer’s productivity, improve design quality, improve communications through documentation, and in the creation of a manufacturing database.
3D models are the main basis of 3D printing. Where a digital model is designed using CAD software as the start point, then converted or “sliced” into commands that can be understood by the 3D printer.
Lastly, the final product of the print, which is a physical replica of the digital 3D model designed.
CAD software can also be used to create 3D models for digital-only applications like 3D animation and video games.
CAD applications are super powerful design toolkits that aid in the creation of very complex 3D designs with a variety of geometric shapes. Which usually involves drawing and modifying geometric shapes on-screen etc. But models can also be algorithmically generated.
Also Read: How to Get a Free 3D Printer
Guide to Design 3D Print Models
Knowing how to design 3D print models is an essential part of your design process because there is no other way to escape this process when seeking to create printed objects.
Though this is essential, it doesn’t apply isn’t with all manufacturing processes. Some machines can be operated manually, without any digital foundation necessary but 3D printers need these digital instructions to work.
3D models for printing are made using 2D or 3D design views, but contemporary design software offers a wide range of features that help users create stunningly detailed 3D models.

Though artistic talents make things easier and fun, to design 3D print model requires a bit more than that.
Some models are not suitable for 3D printing, this is because, while they may look beautiful on screen, it might be very difficult to being to reality using molten plastic.
Hence, 3D designers must therefore be realistic about the possibilities and limitations that are present in the printing process.
Also, as a 3D printer, knowing how to convert digital models into machine-readable instructions in the form of G-code is necessary.
This requires some level of slicing software knowledge and handling.
CAD Software for 3D Printing
Most 3D modeling tools fall into one of two paradigms: direct modeling or parametric modeling.
However, many applications offer both options. Direct modeling, which involves adjusting the 3D geometry (by dragging and dropping, stretching, etc.), is faster and simpler and is typically used during early-stage design.
Parametric modeling is a mathematical and “history-based” paradigm where parts are designed by determining features and constraints. Changes are made step by step in a way that conforms with the original constraints.
Some professional-oriented CAD software is expensive, with most packages now sold with a yearly license rather than a perpetual license. However, there are many excellent free CAD programs suitable for 3D printing, such as those listed below.
Free CAD software for 3D printing
Blender: A free and open-source tool, with mesh-based direct modeling application for its artistic tools.
Quite suitable for 3D models aimed at producing organic shapes, e.g figurines and gaming pieces, not quite ideal for mechanical parts.
TinkerCAD: Beginner-friendly and browser-based doesn’t require downloading onto a computer.
TinkerCAD works using drag-and-drop 3D shapes and saves files to the cloud. Also, it is intuitive and friendly for CAD amateurs to grasp.
FreeCAD: This is a versatile and free 3D design print model tool suitable for a range of 3D printing needs, such as architecture and product design.
Also, it contains features like an advanced geometry engine, a parametric environment, it is also compatible with a wide range of file formats.
SketchUp Free: Trimble’s free, browser-based version of SketchUp contains the basic tools for 3D modeling. It uses cloud storage, which can be helpful when accessing projects across multiple devices.
SketchUp integrates with a 3D Warehouse containing a large library of free-to-download models.
Fusion 360: software recommended for more advanced users rather than absolute beginners. But provides non-professional users with Autodesk’s powerful CAD application on a free license. It is more suited to 3D printing than some applications.
Concepts to Design 3D Print Models
Mastering the art of manipulating CAD software in order to design 3D print models complex takes time, and there are many features to explore.
3D printer users need to design 3D print models with the FDM 3D printing process in mind — even if it means tweaking somethings (such as – removing overhangs, thickening up fine features, adding a wider base etc).
In the professional sphere, this printing-focused approach to design is called Design for Additive Manufacturing (DfAM). Though the rules to design 3D print models remain intact to industrial designers and hobbyists.
Common Issues in Design 3D Print Models
Bridging
Bridging occurs when a 3D model features a suspended horizontal section supported by two vertical sections, that emulates a raised bridge by two abutments.
This can cause problems for 3D printers, as the horizontal section lacks support from beneath, can sag or collapse completely.
This issue can be fixed in several ways. The bridge should be kept less than 5 mm to avoid sagging, otherwise a support structure may be needed underneath it.
Support structures are usually auto-generated by the slicing software, printed along with the other part, then cut or broken off manually.
Overhangs
Overhangs are slightly like bridges. As the name implies, they are protruding horizontal sections, connected on just one side to a vertical section (rather than on each side).
Overhangs may stir issues if they are left unsupported underneath by support structures, and can sag or collapse just like bridges.
Corners
As you design 3d print models using CAD software, creating boxy shapes with sharp corners and edges is the easy part.
But 3D printer have round nozzles, so this affect their ability to produce perfectly right-angled corners; hence, designers should have this in mind.
This is particularly important when designing components that need to fit snugly together.
Round surfaces
For round surfaces, the FDM printing process prints in layers, enabling visible “layer lines” where the different layers meet.
These lines are — sometimes critically seen — when printing round surfaces, otherwise called the “stair-stepping” effect, because the noticeable jumps between layers and looks like a staircase.
When making a 3D model with round surfaces, a solution is to use a very low layer height when slicing the model, in this way, the steps will be smaller and less pronounced.
Also, designers can use a 3D printing service to get the model printed using Stereolithography (SLA); or they can opt to treat the printed part with post-processing techniques such as sanding and smoothing.
Holes
One advantage of 3D printing is the ability to design holes directly into the part, rather than manually drill them later. Though, designers should know that FDM printers won’t always replicate the exact specifications of the CAD model.
This is due to the fact that, when the nozzle pushes down on material on the hole perimeter, it flattens it towards the hole aperture and reduces the diameter of the hole, which may be a problem if the hole is meant to accommodate something larger.
First layers
The first layer of a print is super important, because good bed adhesion prevents the part from slipping during printing.
One of the best ways to ensure good bed adhesion is by designing a 3D model with a wide and flat base; more points of contact with the build surface usually means greater adhesion and stability. 3D models with a solid base will print more easily
Layer orientation
One of the most important things to remember about as you design 3D print models is that printed parts are anisotropic. This implies they are stronger in one direction than another.
So, when designing functional parts that will require a degree of strength, always consider the layer orientation.
Slicing software
Once you are done on design 3D print models, the CAD software can export the design in an STL format.
However, the 3D printer won’t be able to process the STL file and needs to receive instructions about the part in the form of G-code.
Which means a user needs to have a basic understanding of slicing software.
The main use of a slicer is to convert a 3D model into machine-readable instructions. As well as, translates the 3D model into a sequence of flat layers and certify the appropriate linear movements of the 3D printer needed for creating the layers.
The slicer will set a number of printing parameters (like temperature, infill pattern, support structures, etc) and includes these settings into the G-code.
As with 3D design software, there are a number of free slicing applications that will convert 3D models into 3D printer instructions.
Conclusion
With the above article you can agree that to design 3D print model requires some core general understanding: how to use your CAD software of choice, a good knowledge of 3D printing design constraints, and deciphering the slicing process.
Once these concepts are mastered, you can design 3d print models a lot more professionally, through a fast and natural process that results in functional, error-free printed parts.

