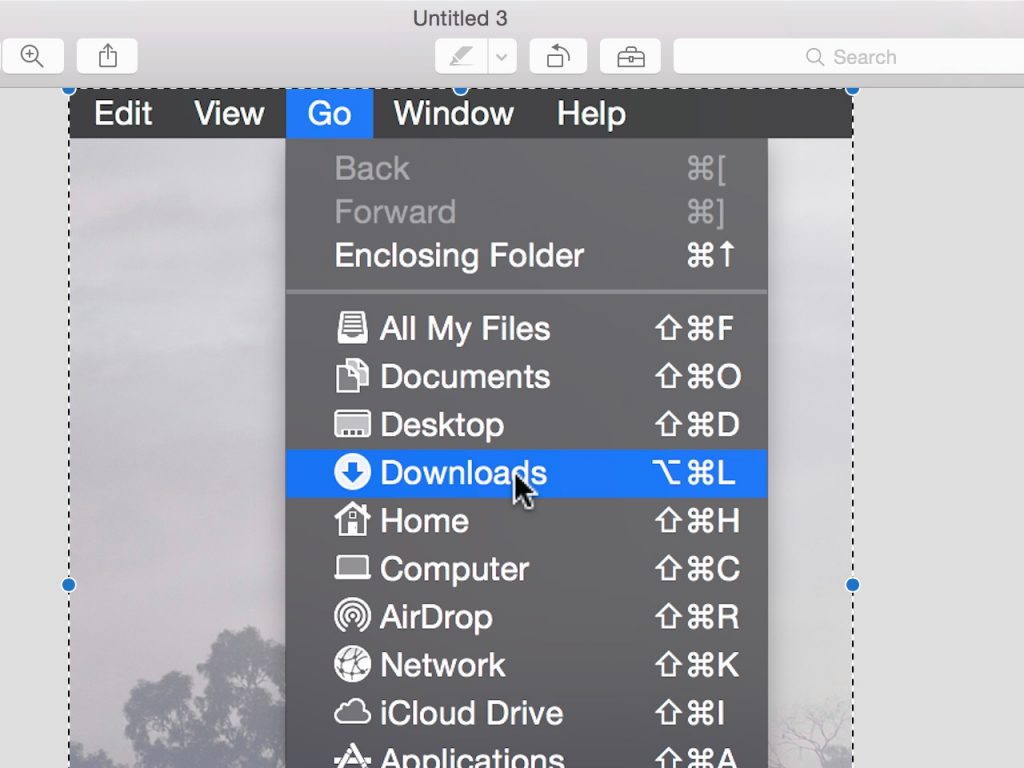
Numerous ways exist to take captivating screenshots on your Mac, but there’s a catch—the mouse cursor is missing in all of your screenshots by default, which may be a complete turn-off for some purposes. Sometimes you may not want to bother annotating screenshots, for example, so you could quickly show the mouse pointer to show someone where to click to fix his computer issues.
If you’re in that boat, we’re going to show you how to take macOS screenshots that include the good old’ mouse cursor.
How to include the mouse pointer in macOS screenshots
You will need to make an adjustment, a bit of customization to add the mouse cursor to your Mac screenshots. For this, you will need to find your screenshot options, which you can access by using the Command + Shift + 5 keyboard shortcut.
Once that is done, you have to click the Options menu on the right-hand side of the floating screenshot options pane. This will open up another menu where the last sub-head is labeled Options. Here, select Show Mouse Pointer.
From that moment on, all your Mac screenshots will include the mouse pointer too. Proceed to give it a try by using the keyboard shortcuts to take a screenshot. To capture the entire screen (including the friendly mouse cursor), press Command + Shift + 3. And to capture a part of the screen, try Command + Shift + 4, followed by the click-and-drag gesture.
While it’s natural to be excited when you finally start seeing the mouse pointer in your Mac screenshots, you don’t want to end up with a ton of random screenshots all over your desktop, so when you are done taking screenshots, be sure to check if those images are saved.
Finally, you may choose to hide the mouse cursor for screenshots, you can go back and reverse it by hitting Command + Shift + 5 once more, selecting Options, and under the Options sub-head, unchecking Show Mouse Pointer.
