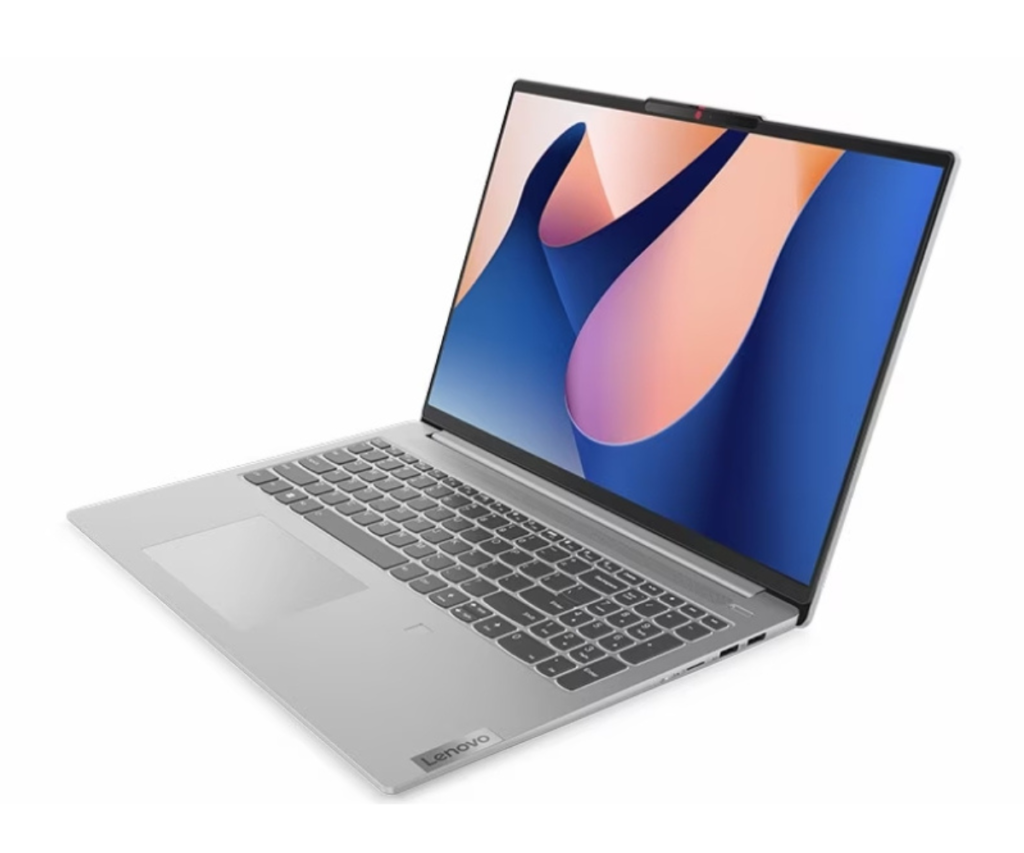
Lenovo is one of the most popular laptop sellers in the world, and offers a wide range of laptops, from budget-oriented to daily use or high-end machines for specific functions like gaming.
If by purchase of any Lenovo’s product you encounter any issues with them, you should first run a Lenovo warranty check to know the warranty status of that product before considering sending them to the repair store for a fix.
But, how do you go about conducting Lenovo warranty lookups for devices such as laptops? This here is exactly what this article is about.
Lenovo Warranty Check/Lookup are based on products categories which are divided into several. Start by visiting Lenovo warranty look up page, proceed to choosing a product family from the main menu. Next, follow the on-screen instructions to finish the Lenovo warranty check operation.
To check your Lenovo Warranty Check/Lookup for a Lenovo Laptop, tablets, desktops and monitors, you will find the right link on Lenovo’s website, all you need do is click on the tab to perform the lookups. Same goes for servers, storage, and networking. Including Augmented Reality/Virtual Reality, Smart Home, Smart Collaboration, Smart Edge, Smart Retail, etc.
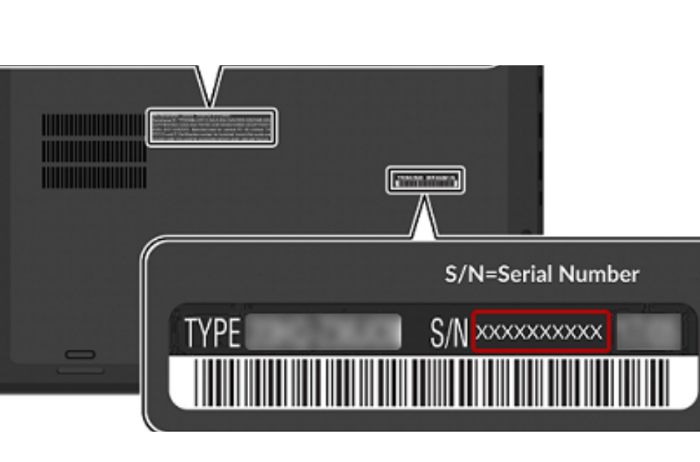
Opening these tabs may request for a serial number. Here is how to find the serial number of Lenovo PCs. It can be done in three ways:
#1. See the Printable Label
A simple and direct way to find the Lenovo serial number is to see the label on the side or back of the product. The serial number of most Lenovo’s product is located behind the SN or S/N or Serial Number. But, If the label is missing, below are other methods to find your serial number lookup on Lenovo computers.
#2. Use Lenovo Service Bridge
Lenovo Service Bridge is a utility that is available for use in carrying out operations on Lenovo computers. Such as: Scanning a Lenovo PC to find its name and serial number and Running Automatic Driver Update on Support Site
Run Diagnostics scans.
Furthermore, Lenovo Service Bridge can be directly launched, downloaded or installed on your computer. When that is done, run it to find the serial number of your device.
#3. Using Commands or Software
Another way to find your serial number is by conducting a Lenovo serial number check through the use of utilities or command lines. For instance, by using the Lenovo Vantage app. It will show you both the system type and serial number after you launch it.
Tip: To check the serial number of other Lenovo products, follow the prompted instructions after clicking on the corresponding tab on the Lenovo warranty lookup page.
Windows Command Prompt: Run Command Prompt or Windows PowerShell as administrator > input wmic bios get serial number and hit Enter.
BIOS Setup Utility: You will find the serial number under the Information or Main tab after entering the BIOS setup page.
Chromebook Settings: Turn on the Chromebook > press Alt + V keys. Then you will see the serial number and the Chrome operating system version.
Linux Settings: Execute the command “sudo dmidecode -t system | grep Serial” or “sudo dmidecode -t baseboard | grep Serial” in a shell prompt or terminal.
Lenovo Warranty Check/Lookup on Laptop Procedure

Once you have found your Lenovo serial number, you can check warranty on Lenovo laptops by typing the serial number into the blank box and click on the Submit button in the prompted window.
Then you will learn the warranty status of your Lenovo computer. If the warranty is about to expire, you are also able to extend or upgrade it by clicking on the Purchase a warranty upgrade option at the bottom of the Lenovo warranty check laptop page. Once this is done, follow the prompted instructions to finish the warranty upgrade process.

