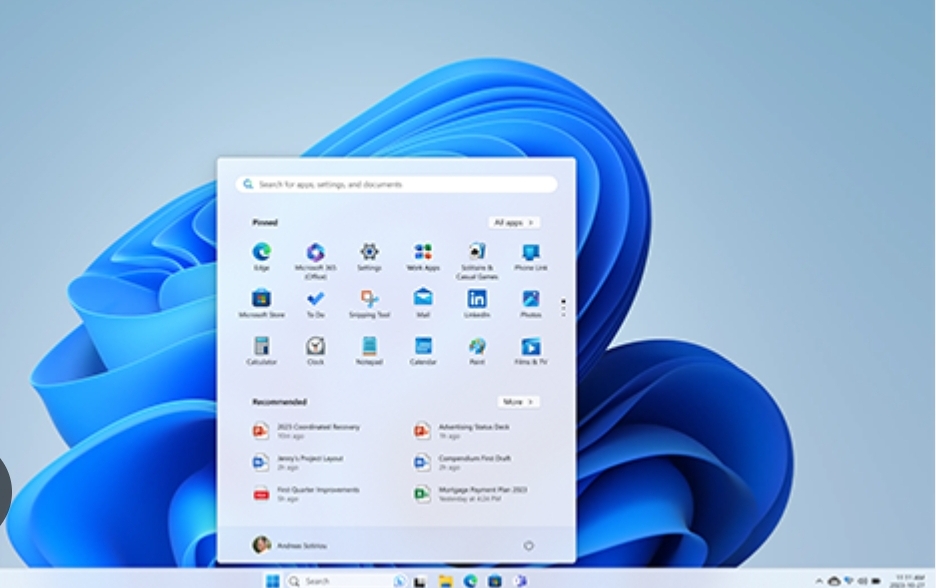
The Windows 7 taskbar allows you to become a lot more productive by giving you the option of personalizing the operating system’s taskbar. Windows 7 taskbar has become a one-click area to access your frequently used and any open apps.
Moreover, when configured properly, you may never need to open the Windows Start menu again!
Steps to Customize Windows 7 Taskbar Texture
Step #1. Move the Taskbar
To begin your Windows 7 taskbar texture customization, you may want to move your taskbar from its default position to any side of the screen you want. Of course, this is something most users do not know can be done.
Now you will particularly appreciate it if you’re using a widescreen monitor—by doing this, you have more room, and not to mention it looks neater on your screen too.
How do you move the taskbar?
- Simply, right-click on any open area of the taskbar and select ‘Properties’ from the pop-up menu.
- When the Taskbar and Start Menu Properties dialog box appears, click the Taskbar tab.
- Next, Drag down the Taskbar Location on the Screen list and select the desired location: Bottom, Left, Right, or Top, then click OK.
- Once, you have done these, the taskbar band will move to your desired location.
You may want to know that while customizing if you move your taskbar position to the top of the screen, the Start menu pulls down instead of popping up. If you position it to the left side of the screen, the Start menu opens to the right. If you position the taskbar on the right side of the screen, the Start menu will open to the left. This may take a little getting used to, but it’s okay and can help in security for unwanted users.
Step #2. Change the Taskbar Color and Texture
The color and transparency of the taskbar are simply a result of the color scheme you select for Windows. This means your taskbar will have the same color and transparency as all the windows you open on your desktop.
Changing the color of the taskbar begins with changing Windows 7’s color scheme:
- Right-click on any open area of the desktop and select ‘Personalize’ from the pop-up menu.
- When the window appears, select Window Color, the Window Color and Appearance window will appear, and click the color scheme you want.
- If you want to choose a custom color, click the Show Color Mixer button then fine-tune the selected hue, saturation, and brightness.
- When in the Color and Appearance window, you can change the taskbar’s transparency. To make the taskbar and onscreen windows more transparent, move the Transparency slider to the left. To make them appear more solid, move them to the right.
Now, here is what to do to customize the Windows 7 taskbar texture:
For this, you may need a third-party tool, that helps you to texturize the Windows 7 taskbar, called “Taskbar Texturizer”.
This is a lightweight tool that offers over 10 textures. This tool can only texturize the taskbar of your system, it does not texturize the start menu. But, the developer seems to be working on an updated version that supports that texturization as well.
- Download Taskbar Texturizer
- So, choose the texture by clicking the browse button.
- Next, move the slider to adjust the level of texturization as you desire. You can also create your custom texture with images in Bitmaps format.
This program works on Windows XP, Windows Vista, and Windows 7. It supports 32-bit and 64-bit OS.
Step #3. Add Items to the Taskbar
Do you to add items to your taskbar? The smart and easy way to configure your taskbar is to populate it with buttons for your most-used applications and documents.
- Open the Start menu or Windows Explorer, then locate the application or document you would like to add to the taskbar.
- Right-click on the item and select “Pin to Taskbar” from the pop-up menu.
- A button for that item now appears on the taskbar, mission accomplished.
Step #4. Rearranging Taskbar Buttons
Windows 7 allows you control over the order of taskbar buttons, a feature that was lacking in previous versions.
This control is important — when you’re docking your favorite applications. All you have to do is drag and drop a taskbar button with your mouse into the position you want, and that’s it.
Step #5. Resize the Taskbar
Even if you are using a big-screen monitor, adding lots of items to the Windows taskbar may fill it up.
- However, you can resize the taskbar to display a few rows of buttons. All you have to do is right-click on any open area of the taskbar and uncheck the “Lock the Taskbar” option.
- Then, with your mouse grab the top edge of the taskbar, and drag it upwards.
- When you resize the taskbar, right-click on the taskbar again and re-check the “Lock the Taskbar” option.
You can also change the size of the buttons on the taskbar—by default, Windows uses “Large icons”, you can reduce the size of the toolbar by switching to “Small icons”.
- To do this, Go to the Taskbar tab in the “Taskbar and Start Menu Properties dialog box” and check the “Small icons” option.
- Then, uncheck this option to return to the default “Large icons” view.
Before you go…
When you’re done making all these changes, and satisfied with your customization, always remember to smash the “Save changes” button.
How to Add Bluetooth to Taskbar on Mac
At Terecle, we have written a detailed guide on “How to Add Bluetooth to Taskbar on Mac” either from the System preference or the Control center.


