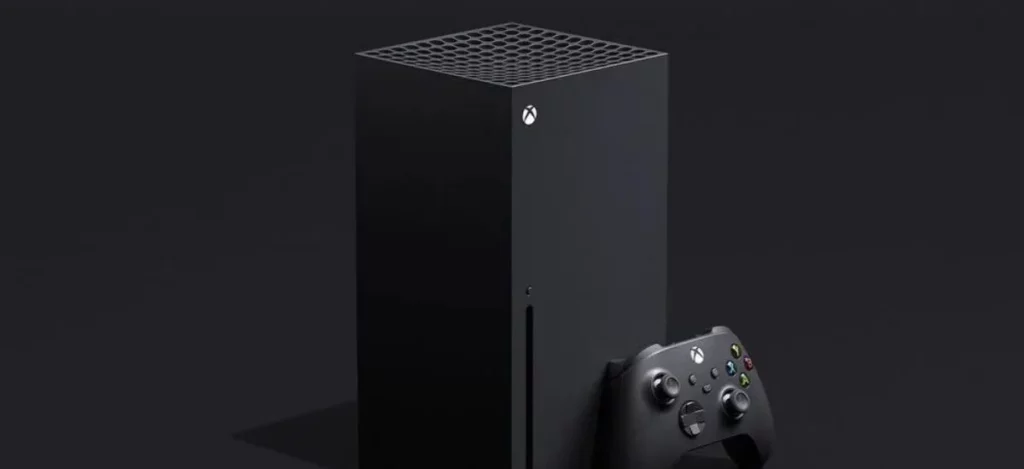
If you need to make repairs on your Xbox controller and you don’t know to to take it apart, this article explains how to take apart your Xbox one controller if you need to make repairs or clean it.
Xbox one controller is one of the best out there but as with every gadgets you might need to do some quick repairs or clean it. You will need specialized tools to be able to do this and note that taking apart Xbox one controller tampers with your warranty.
Reason for taking apart an Xbox one controller
If you have encountered problems in you Xbox one controller and you have tried troubleshooting like checking the batteries but it does not work, you have to take apart the Xbox controller. The following problems will require you taking apart your Xbox one controller:
- Malfunctioning D-pad. You can replace if necessary
- Drifting analog sticks
- Audio Jack not working, you need to check and verify that Jack is properly seated and can make contact
- Sticking joystick button, you have to remove circuit board assembly from controller housing
- Cleaning Xbox one controller components
- Repairing or replacing buttons, thumbstick and triggers
- Check battery connectors
These are few reasons why you need to take apart an Xbox controller yourself, otherwise you can take to a professional to fix issues for you
How to take apart Xbox one controller
Before you can disassemble your Xbox one controller, find a clean and clear workspace with better lighting or better still a tray. This is to prevent screws from getting lost when they fall.
Also have the following tools – T-8 safety torx, prying tool, Flathead screwdriver. You can use a plastic prying tool to avoid damaging the housing of your controller, take a prying tool that’s thin enough to fit the gap between controller housing and the end covers.
- Use the prying tool to gently separate the right or left cover. Use it between the plastic sides
- Trying to use the prying tool to pull the covers apart,when they start coming apart you can use your hand to gently pull them off. Do not use force because they are adhesives under the plastic holding them in place
- Repeat the first and second process with the other covers
- Then remove the battery cover. Use the torx tool to push through the sticker to cut it away or access hidden screws. Usually if your controller has never been taken apart before, the sticker in the battery compartment will be tighter. Be careful with it and don’t pull too hard else you damage the cables that connect battery circuits
- Now use your T-8 screwdriver to remove the screws. Start with the hidden screws inside the battery compartment. There are five screws, be careful and apply even pressure to remove screws successfully.
- Using the same torx driver, remove screws from the grip, one by one until you remove all the screws and release the grips. Your controller will now come apart.
- You now have access to rumble motors, triggers, some extra screws that leads to the circuit board. You can clean the buttons, analog sticks,d-pad, you can unscrew the circuit board if that’s where you want to work on.
- When you are done, reassemble controls by reversing the steps. Place controller assembly back in the front cover,set rear case in place, insert tightly all screws, snap grip covers and battery covers back into place to finally reassemble.
Once you successfully take your controller apart, it is split into three main parts : Front faceplate, body with the circuit, backplate housing the battery. Do not lose these parts and their screws.
While reassembling, ensure battery connectors are properly lined up inside the backplate and that audio jack is properly set to fit into the outer shell.
Use T-8 security torx screwdrivers to remove screws because it’s easier.
Some problems you can fix on your own like cleaning and replacing components. Advanced skills like soldering to remove and replace components should be taken to a professional.
How to work on Xbox One Controller
If you want to fix or replace D-pad:
- Use a prying tool to carefully pop off spring steel D-pad ring
- Then carefully lift up the arms on the D-pad ring so that they apply more pressure
- If problem persists, you need a new one
To clean Xbox one controller:
- Use Isopropyl alcohol to clean dirt
- Use cotton swabs to clean and to reach everywhere
- Use a small vacuum cleaner used for electronics to collect dirt that is out of reach
- Use disinfectant wipes too to clean components
There are other things like repairing a loose joystick and customizing Xbox one controller.
If your Xbox one controller got damaged, dropped, banged, or is ridded with hand grease, dirt and sweat, You have to disassemble and work on it. Just be careful so you don’t do more damage worse than the previous one, if possible take your controller to a professional.
This article was first published on August 1, 2022 10:54 a.m. WAT


![Error Occurred on gpuid: 100 [Fixed] error occurred on gpuid: 100](https://terecle.com/wp-content/uploads/2023/02/markus-spiske-bMvuh0YQQ68-unsplash-scaled.jpg)


