If you are new to using a Windows operating system, ungrouping taskbar icons may be a challenge, as the taskbar is an integral part of a Windows computer because it offers quick access to your frequently used applications.
Not to mention, with the recent changes in Windows over the years, some old-fashioned features have been lost along the way. Window grouping on the taskbar is a relatively new feature, and you have the option of completely disabling it if you desire.
Also, if you are a fan of customization then you may want to reorganize your icons to make it easier for your favorite apps to be accessed. But can you do that in Windows 11?
In This Article
Methods to Ungroup Taskbar Icons in Windows 10/11
To ensure that you ungroup taskbar icons in Windows 10/11, you first have to ensure your computer is running on the latest updates from Microsoft or download the latest updates and change a setting.
Method #1. How to Ungroup Taskbar Icons Using ‘NEVER COMBINE TASKBAR ICONS’ from Settings
This is one of the simplest and most common ways to ungroup taskbar items in Windows 11.
Follow the instructions below:
- Press the Windows key on your keyboard, type ‘Settings’, and click ‘Open’.
- Alternatively, to quickly open window settings press the ‘Windows key + I’ keyboard shortcut. Then, type Settings
- From the side pane, select Personalization.
- Choose the Taskbar option.
- Scroll down to the bottom and select ‘Taskbar behaviors’ to expand it.
- In the expanded menu, you will find ‘Combine taskbar buttons and hide labels,’ select Never from the drop-down menu.
- The taskbar icons will ungroup and expand.
Note: This setting change is only applicable to the primary display device. If you have multiple displays, then continue.
Method #2. Ungroup Taskbar Icons through Windows Registry
This is another method to ungroup taskbar icons, where you will be required to use the Windows Registry Editor to separate taskbar icons on your Windows 11 machine. Before you indulge in this method, ensure that you back up the Windows Registry, this will help restore your data if any error or failure occurs.
Follow the steps below:
- Step 1: Press the Windows key on your keyboard, type Registry Editor, and click ‘Run as administrator.’
Shortcut: Press the Windows key + R keyboard shortcut to open the Run dialog box, type regedit.exe, and click OK to open Registry Editor. - In the prompt, select Yes.
- In the top address bar, enter the following path: HKEY_CURRENT_USER\SOFTWARE\Microsoft\Windows\CurrentVersion\Policies\
To manually navigate to the section, do these:
- Under Policies, right-click > Select New and choose Key.
- Set the new key value name to Explorer by double-clicking it.
Note: If the Explorer key exists already under the Policies key, skip this step. - Set the new key value name to Explorer
- Right-click the Explorer key > Select New > choose ‘DWORD (32-bit) Value.’
- Double-click the DWORD Value name, type NoTaskGrouping, and press Enter.
- Double-click the new value, type ‘1’ in the Value Data field, and press OK.
- Finally, reboot your computer to implement the changes. When the system boots back up, you will find that you can ungroup taskbar items.
Method #3. Ungroup Taskbar Icons in Windows 11 with a Third-party App
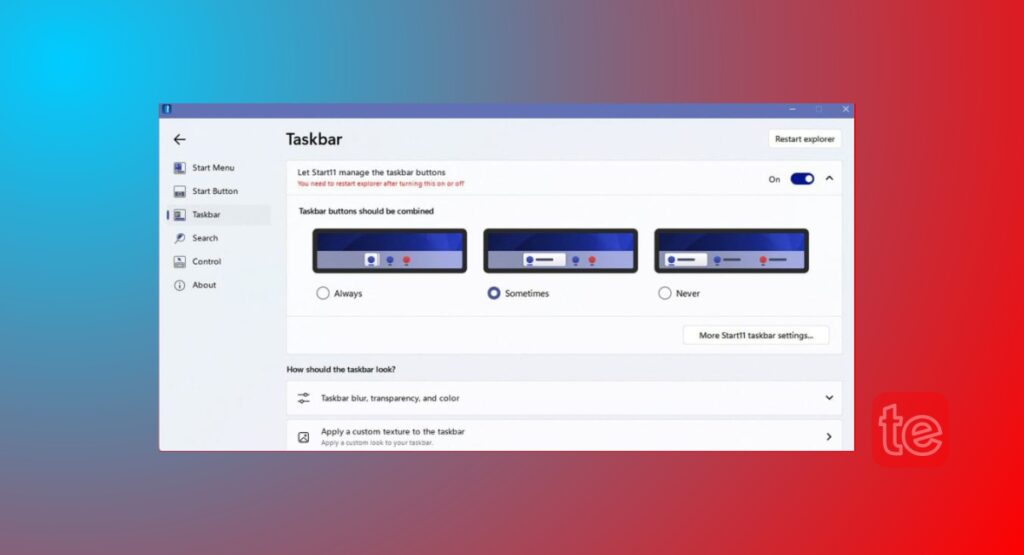
Third-party apps have been found efficient in solving certain problems encountered on Windows including separating taskbar icons on a Windows 11 PC. For this particular fix, you need to download a third-party app called StartAllBack.
It lets you ungroup taskbar icons but not for free, there is a token to be paid.
Follow the steps below:
After the successful download of the app, click the downloaded file to open the installer. Choose Install for me or Install for everyone, as it suits your preference.
Step #1. Install StartAllBack
StartAllBack will install and activate some changes automatically, some of these changes include:
Repositioning your taskbar to the left and restoring the old-school start menu. The app will also launch automatically, but you can right-click the ‘Start button’ and then ‘Properties’ to launch it manually.
Step #2. StartAllBack Welcome Screen
- The app’s launch screen will give you options of themes to choose from. You can select a theme if you wish or may leave it to the default Windows 11 settings.
- To proceed, click the taskbar in the left navigation pane.
Step #3. Ungrouping Windows 11 Taskbar icons with StartAllBack
In the description, ‘Tweak behavior and superpowers’ > Click the dropdown menu that says ‘Always hide labels next to Combine taskbar buttons’ > Click ‘Never’ from the dropdown menu.
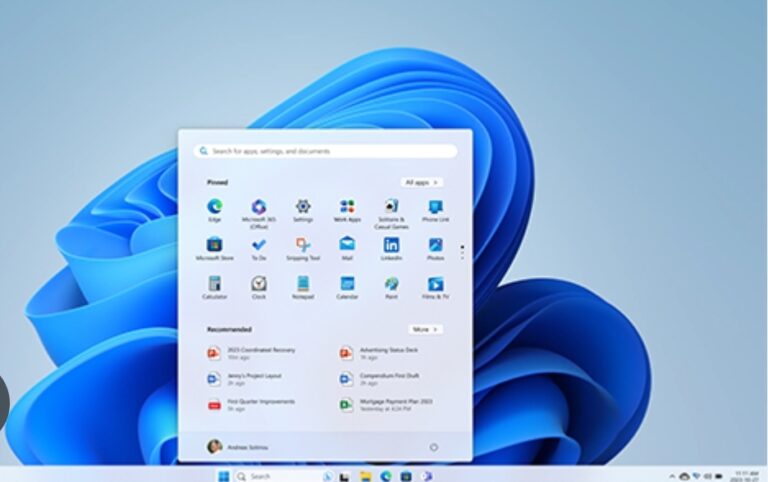
To access the new Windows 11 Start menu with the ungrouped icons, click Start Menu in the left navigation pane, then select the toggle next to use the enhanced classic start menu.
Enjoy your ungrouped taskbar icons in Windows 11.
Method #4. Ungroup Taskbar Icons in Windows 11 “Never Combine Taskbar Buttons Using Group Policy”
The Local Group Policy Editor gives you control of Windows as well as ungroup taskbar items. However, this Group Policy Editor is only available for Windows 11 Pro users and Enterprise versions.
Follow the below instructions:
Note: You can skip this method if you are on Windows 11 Home Edition. If you don’t know your Windows version, read the top ways to check the edition, version, and built-in Windows 11.
- Press the Windows key on your keyboard, type ‘gpedit’, and select ‘Open’.
- Select ‘User Configuration’ under ‘Local Computer Policy’ In the left pane.
- Then, in the right pane, double-click on ‘Administrative Templates’.
- Select the ‘Start Menu > Choose the ‘Taskbar’ option.
- Under the ‘Start Menu and Taskbar’ option, double-click on ‘Prevent grouping of taskbar items.’
- Choose the Enable option, and click on Apply, then click OK.
FAQs
How do I Show All Tabs in Windows 11 Taskbar?
To show taskbars in Windows 11, simply right-click on anywhere of the taskbar, then select [Show Task View button]. In Task View, the list of all current windows of the desktop you are using will appear on the top side, and you can select any to quickly open.


